1. Why build a PC?
Customizations: Choose the exact specifications for your needs, whether gaming, productivity, or media editing.
Cost-Effectiveness: Save money compared to pre-built PCs with similar specifications.
Learning Experience: Gain hands-on knowledge of computer hardware.
Upgradability: Easily replace or upgrade individual components over time.
Overview of the Tutorial
This guide will cover:
Essential components and tools needed.
Step-by-step assembly instructions.
Initial setup and testing.
Maintance tips to ensure longevity.
3. Step-by-Step Instructions
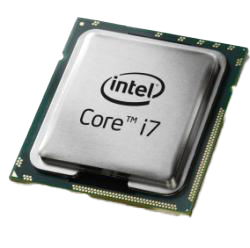
Step 1: Install the CPU
Open the CPU socket on the motherboard.
Align the CPU with the socket (match the triangle markers).
Gently place the CPU and secure it with the retention arm.
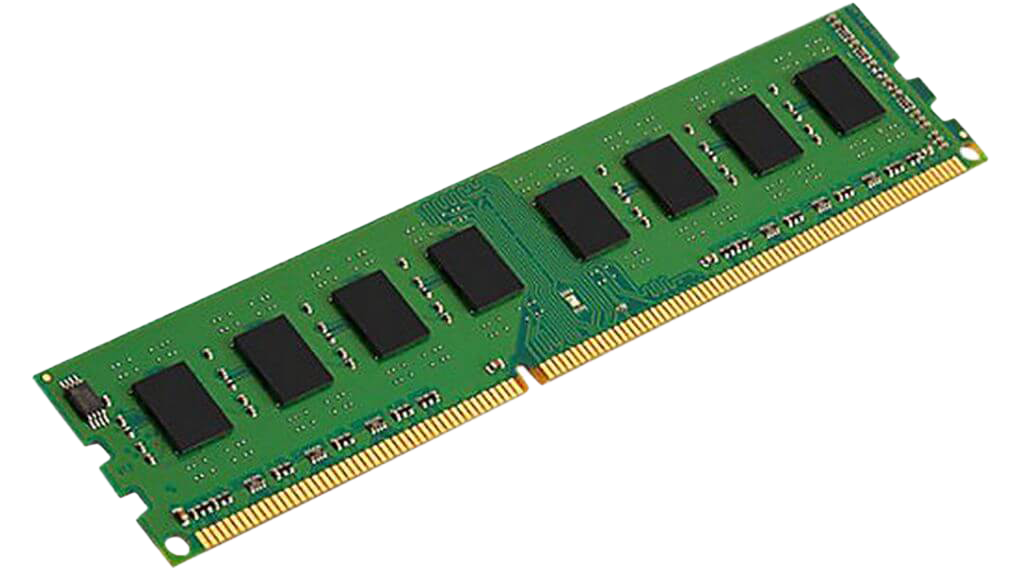
Step 2: Install RAM
Open the RAM slots' clips on the motherboard.
Align the RAM module with the slot and press firmly until it clicks into place.
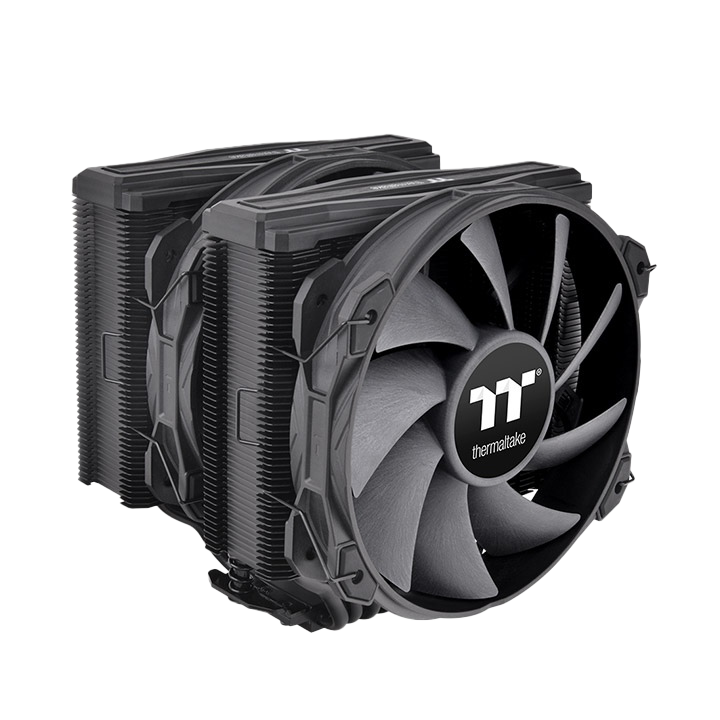
Step 3: Install the CPU Cooler
Apply thermal paste (if necessary).
Mount the cooler as per its instructions and connect it to the motherboard's fan header.
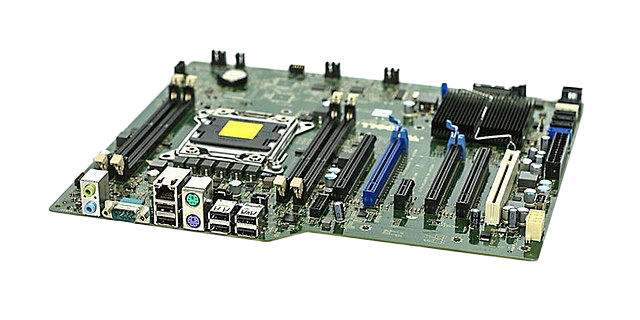
Step 4: Mount the Motherboard
Install standoffs in the PC case (if required).
Carefully place the motherboard in the case, aligning it with the standoffs and rear IO shield.
Secure the motherboard with screws.
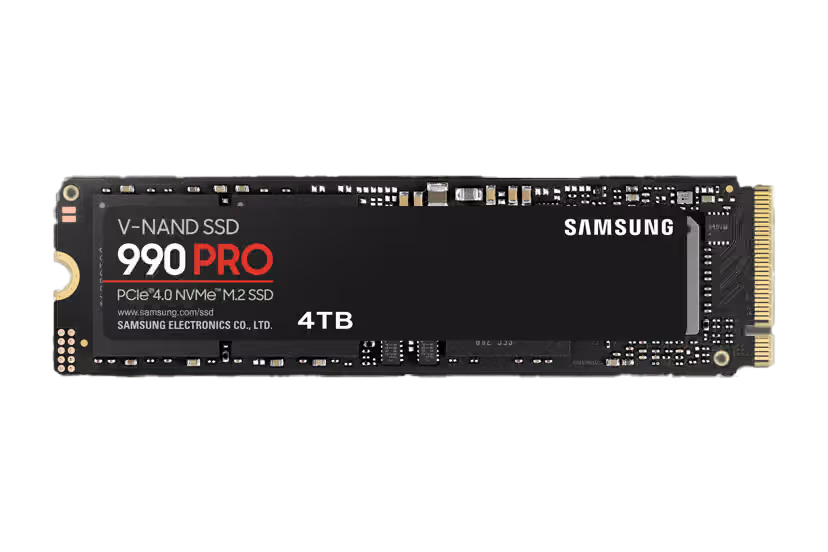
Step 5: Install Storage Device
For SSDs: Mount them in the designated slots or use M.2 slots.
For HDDs: Place them in the drive bay and secure with screws.
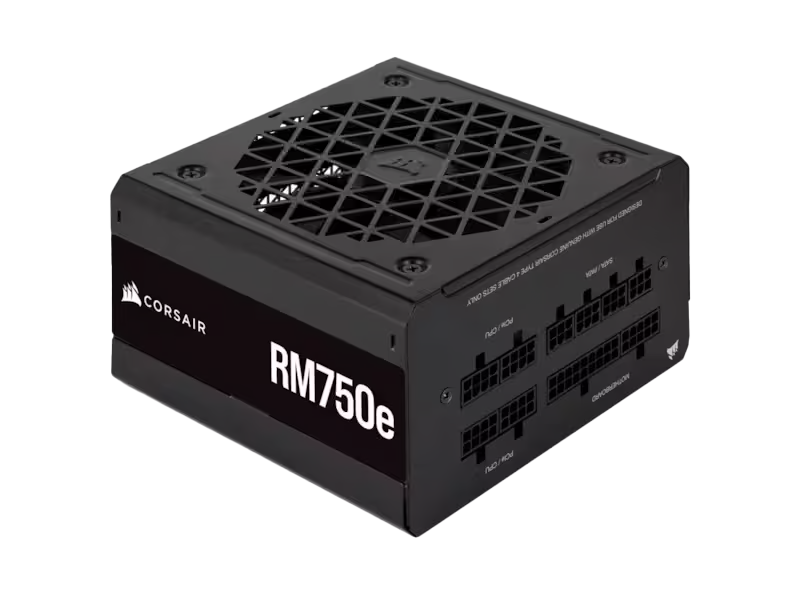
Step 6: Connect the PSU
Mount the PSU in the case.
Connect the 24-pin motherboard cable, CPU power cable, and any other necessary cables to components.
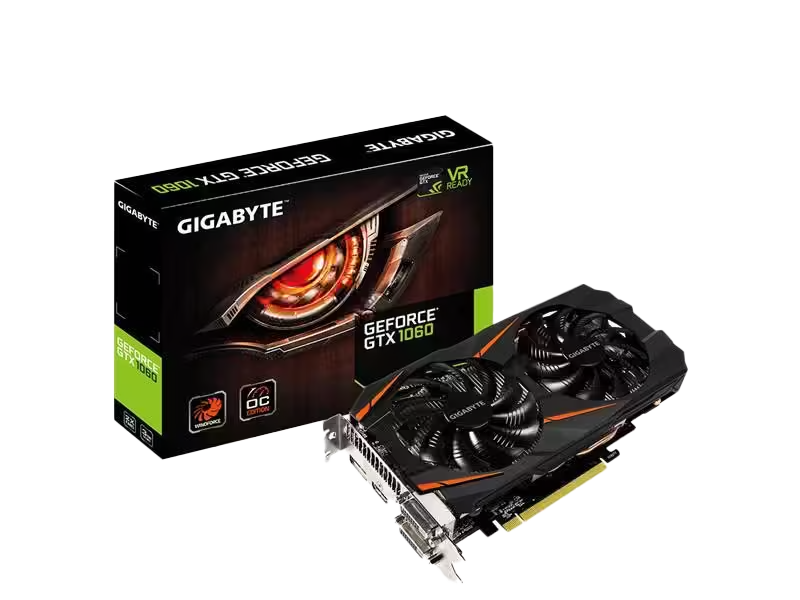
Step 7: Install the GPU
Remove the corresponding PCIe slot cover from the case.
Insert the GPU into the PCIe slot on the motherboard.
Secure the GPU with screws and connect the power cables.
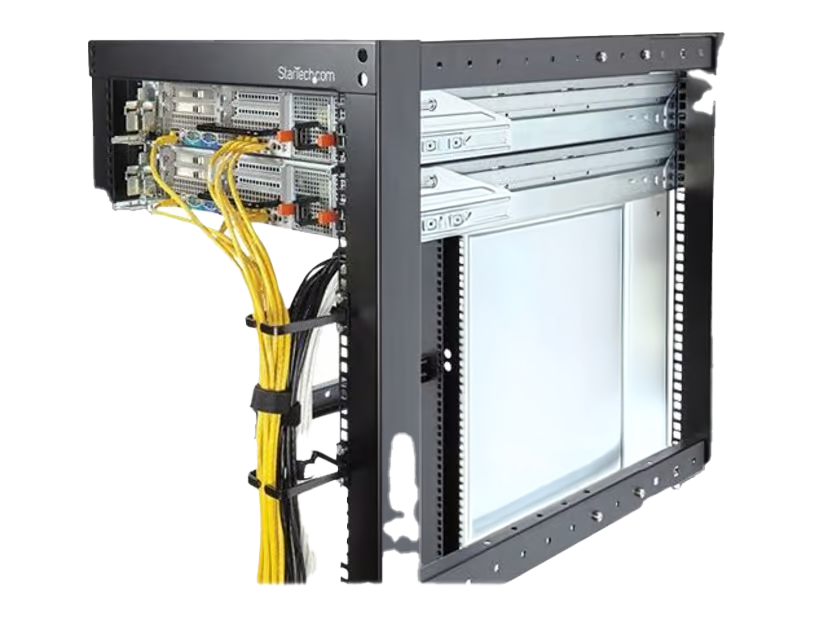
Step 8: Cable Management
Route cables through the case's cable management channels.
Use zip ties to keep cables neat and out of airflow paths.
4. Testing and Setup
Step 1: Booting for the First Time
Connect the monitor, keyboard, and mouse.
Turn on the power and ensure the system boots into the BIOS.
Check that all components are detected (RAM, storage, CPU, GPU).
Step 2: Install the Operating System
Use a bootable USB drive with your preferred OS (e.g., Windows, Linux).
Follow on-screen instructions to install the OS.
Install motherboard and GPU drivers.